Planning your bookcases
Guide 2 of 8
The plan view is the heart of Regalzeile: it draws your bookcases to scale and puts every book in them, spine and all. Anyone who later asks “Where on earth is …?” gets the answer with bookcase, shelf and position. It takes a little setting up once — after that, you just shelve.
Building, room, bookcase
Every bookcase stands in a room, every room in a building. That sounds like a lot, but it is quickly done: the very first time, “Set up your first bookcase” under “Bookcases” takes you through all three levels in one go. Later, the breadcrumb bar at the top (building › room › bookcase) moves you between your bookcases. If all you have is a living room, simply create a building called “Home” and one room.
Shelves with width and height
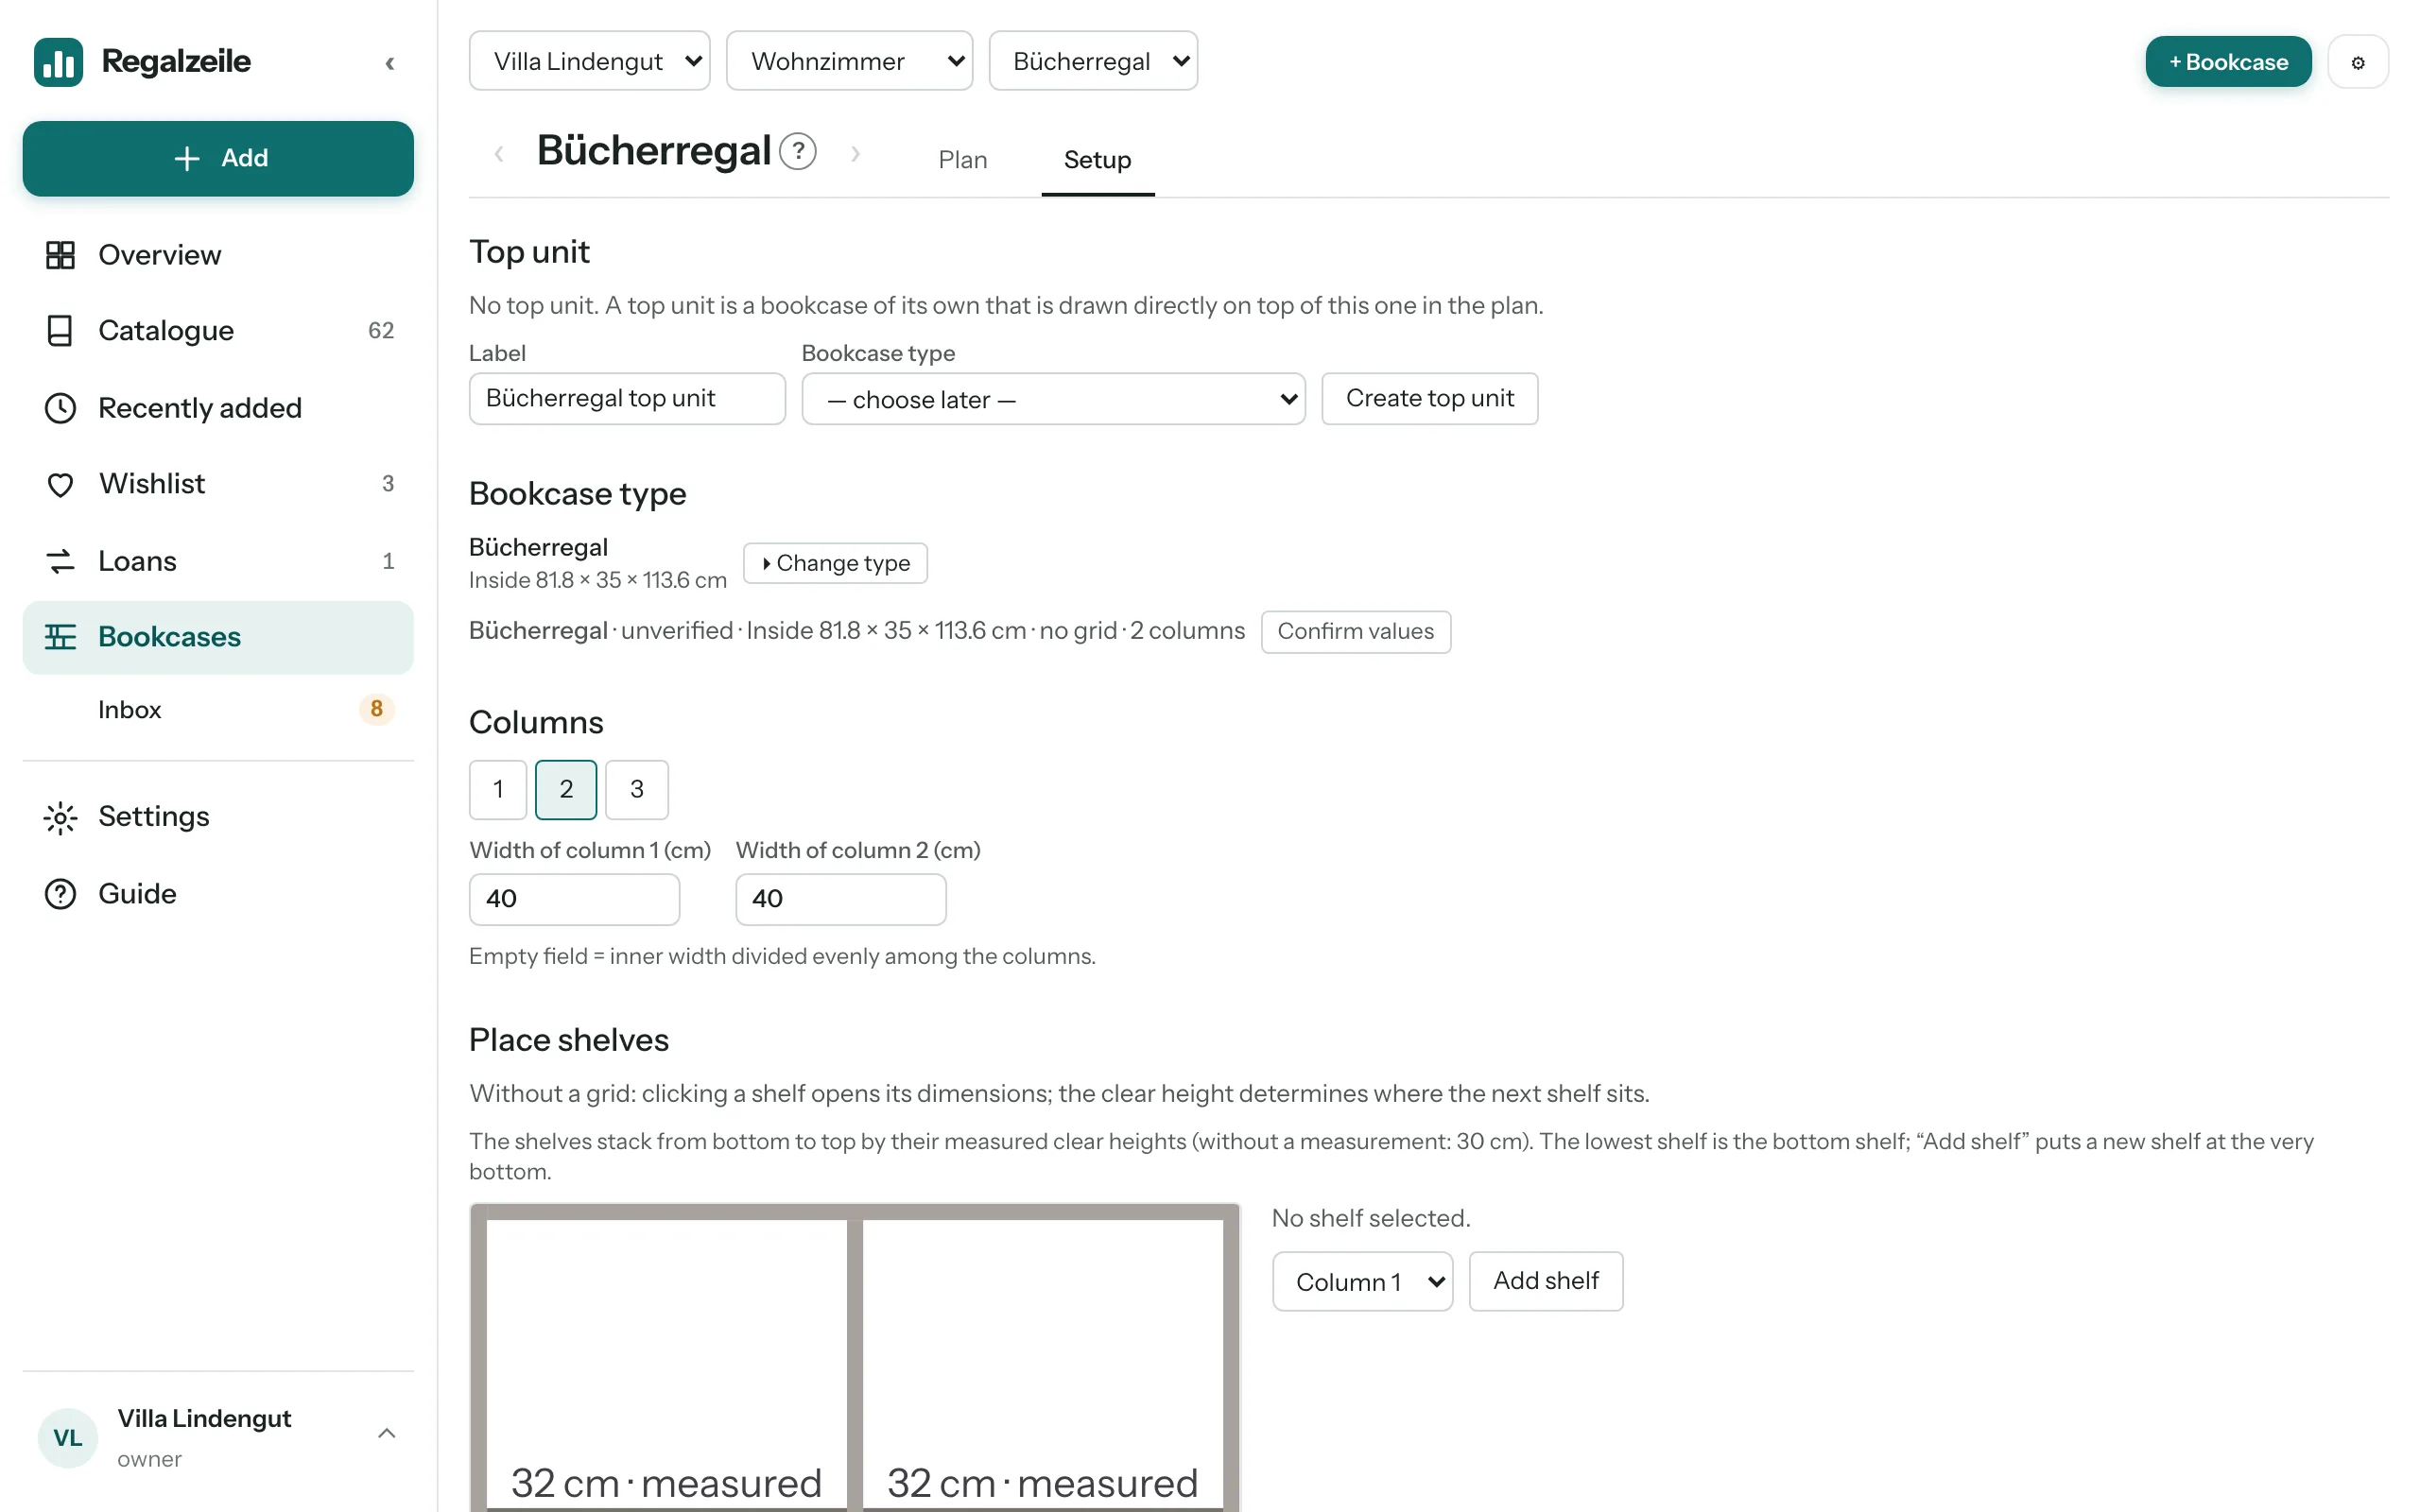
On the “Setup” tab you choose a bookcase type. There are ready-made templates for IKEA ranges such as Billy or Kallax; for anything else you create your own type with your own measurements. A bookcase has one to three columns, with shelves in them. Two figures matter for each compartment: its width and the clear height up to the next shelf. It is worth measuring carefully — the plan view counts in millimetres, and in Regalzeile “full” means full in millimetres, not by number of books. A newly created shelf takes over the measurements of the previous one, which saves typing.
Shelving by dragging
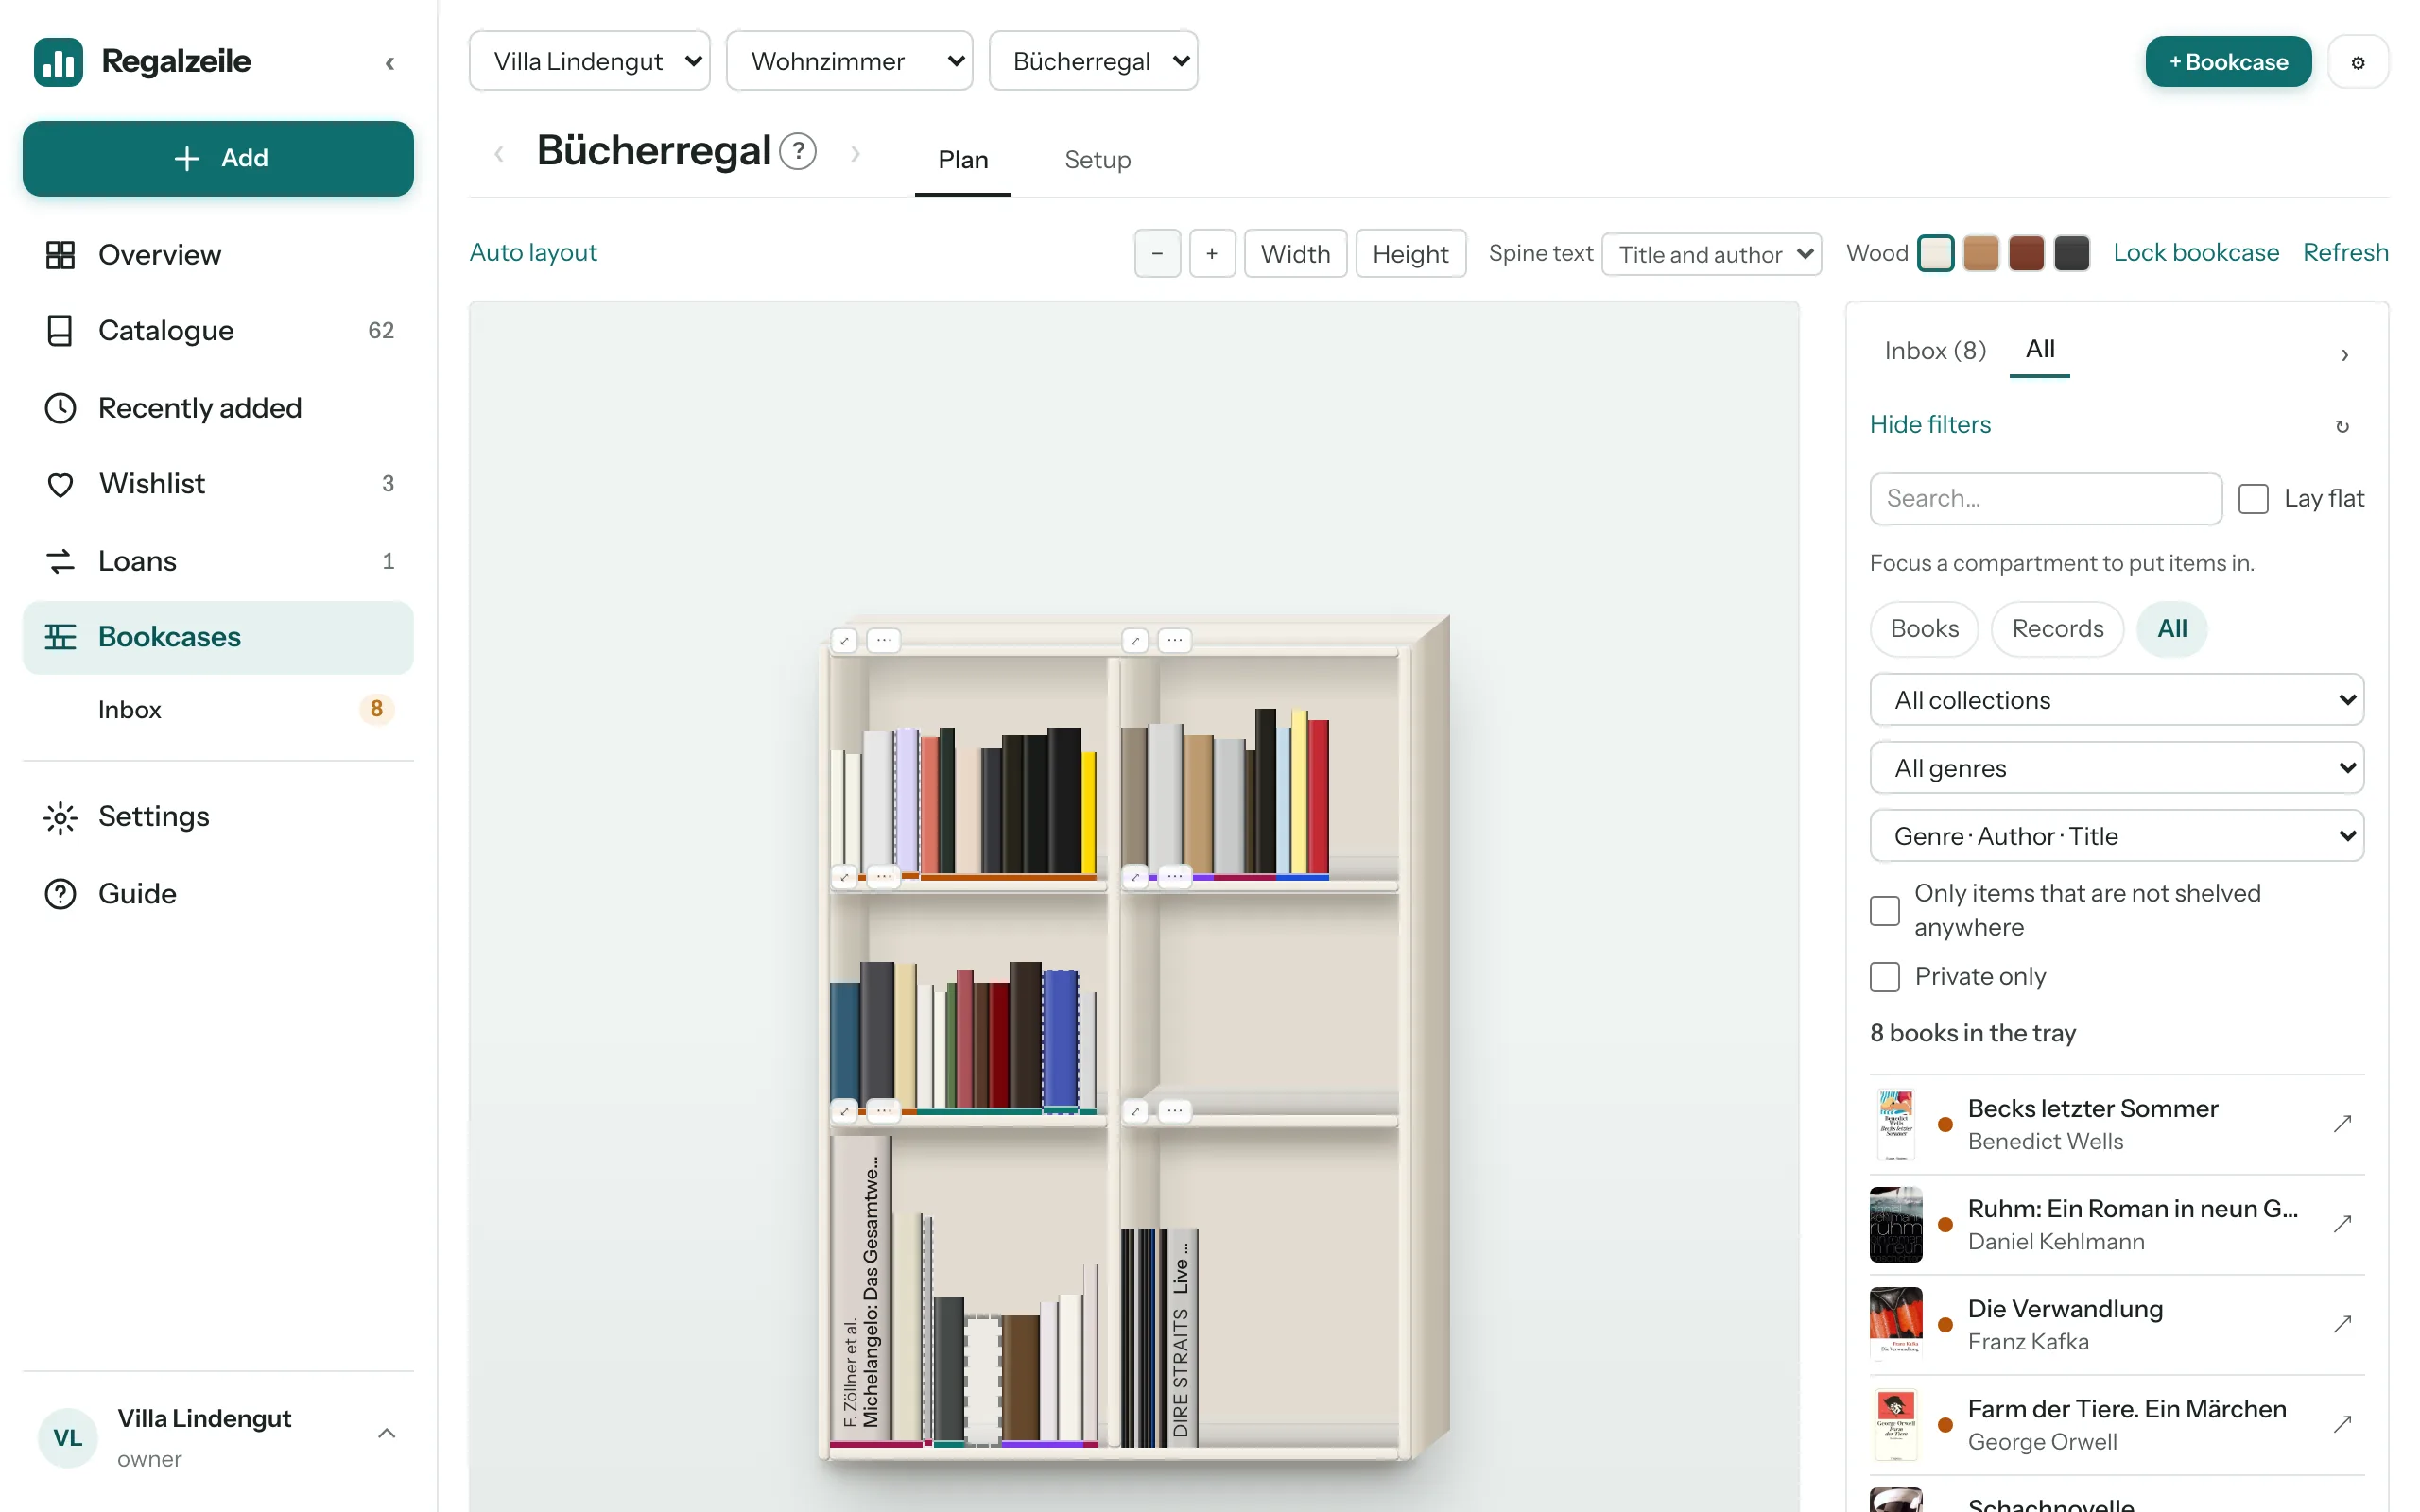
On the “Plan” tab, the tray sits on the right: all books without a spot wait there, including those from the inbox. Focus a compartment with ⤢ in its label or a double-click on its back wall, then drag a book from the tray into it. For deep bookcases, the “front | back” switch picks the row. Put something in the wrong place? Just drag the book back into the tray. On a phone you tap “Put in bookcase” next to each book instead, and it goes to the end of the front row.
Spine width, height and the estimate markers
For the fill level to be right, every book needs a spine width and a height. The catalogue often supplies them. Where it doesn’t, Regalzeile draws the book with an estimated width and marks it: a yellow triangle at the bottom left for a missing spine width, an orange one at the bottom right for a missing height. The quickest way to fill in the values is right in the plan: click the book, press r for the spine width or h for the height, type the millimetres, Enter.
Books laid flat, slipcases and the table
Not every book stands upright. A book can be laid flat in a compartment; lay a second one on top and you have a stack. Large art books and slipcases often lie like that anyway. For coffee and side tables there is the table: books lie at a particular spot on the top and can be rotated in 90° steps. The “Front / Top view” switch shows the top from above; there you move and rotate whole stacks and reorder them with “Sort stack”.
All the details — doors, upper units, copying and locking a bookcase, the markers on the spine — are in the Bookcases and plan view chapter of the Guide.